Most every avatar in Second Life loves to take photos. Some are happy with a nice snap shot and some what to make that photo a masterpiece!
We study others, we form our own styles and we learn over time and we use every tool in our Second Life arsenal!
Windlights, Weavers Phototools, studios, wood cubes with a back ground and we spend a ton of lindens on poses and props. Then we spend hours setting a scene, getting the light we want, the look we want, the model dressed and posed to perfection. All of this IN Second Life before we even shoot. Then we take it out and we process it more often in expensive editing programs like Photoshop etc.
My partner Toran always tells me "sh** in, sh** out" , so we took some time today to work on a small "reciepe" of sorts. A start to finish, brief and simple and effective way to use the LUMIPro that any beginner can do.
A lot of people don't take advantage of the full power of LUMIPro, with highlighting, face shadowing for photos. The possibilities and control are endless.
We all love our windlights and they are great for setting the *mood* of a photo and we use them in every shot but the LUMIPro is to light your model after you set your ambiance with windlights, to really make the model pop .
So lets do one and keep it as simple as possible.
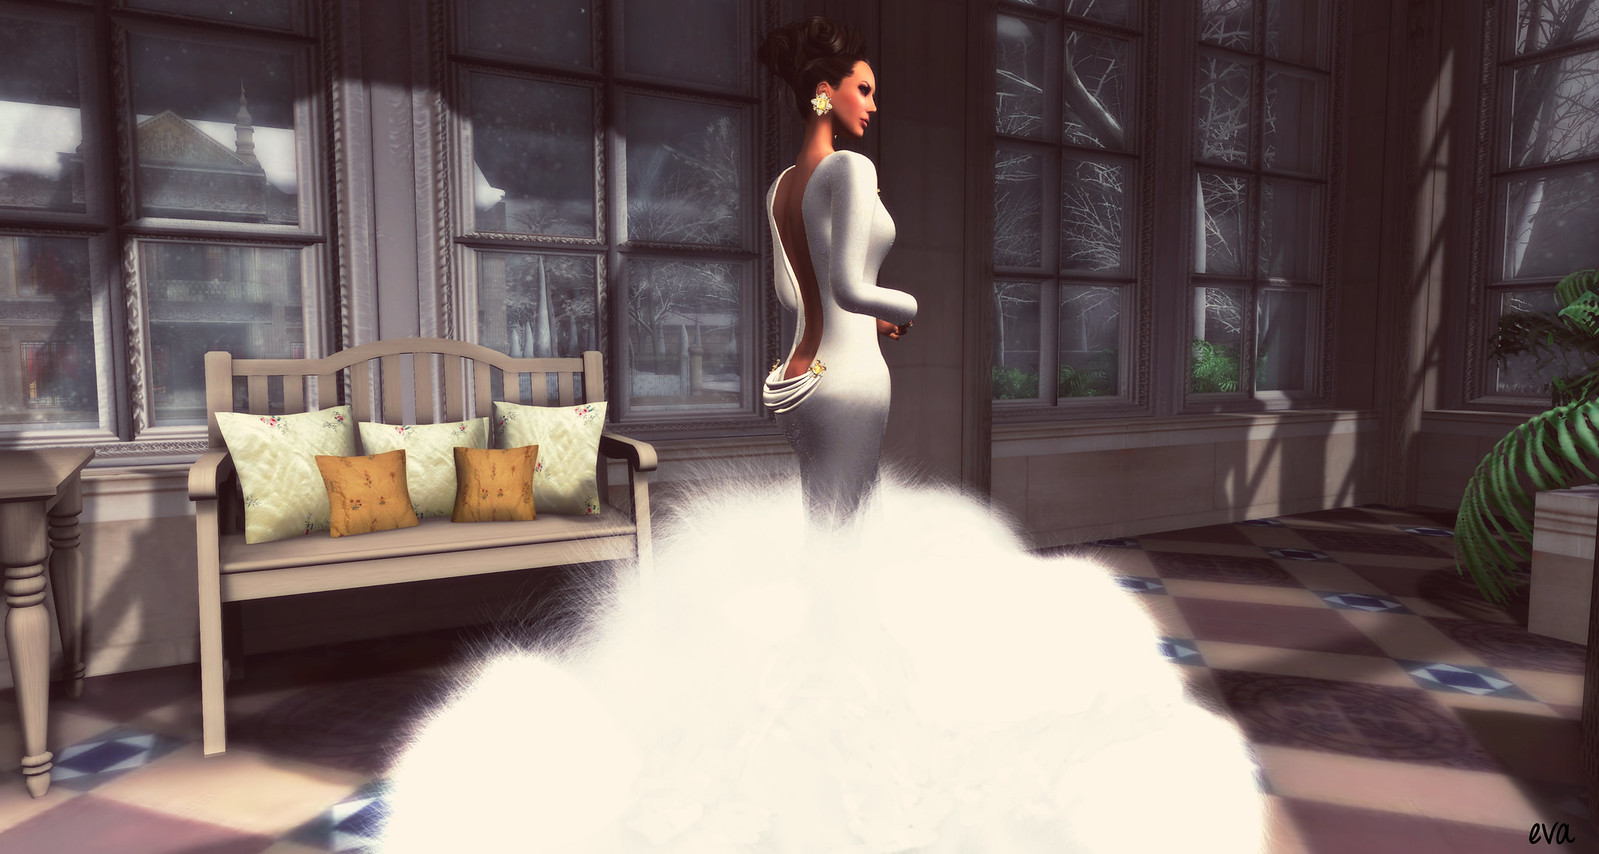
1st photo in default WL using SL shadows, resolutions for all photos 6016x3299. No processing , no LUMIpro.
2nd photo WL setting fluffy big clouds. No LUMIPro.
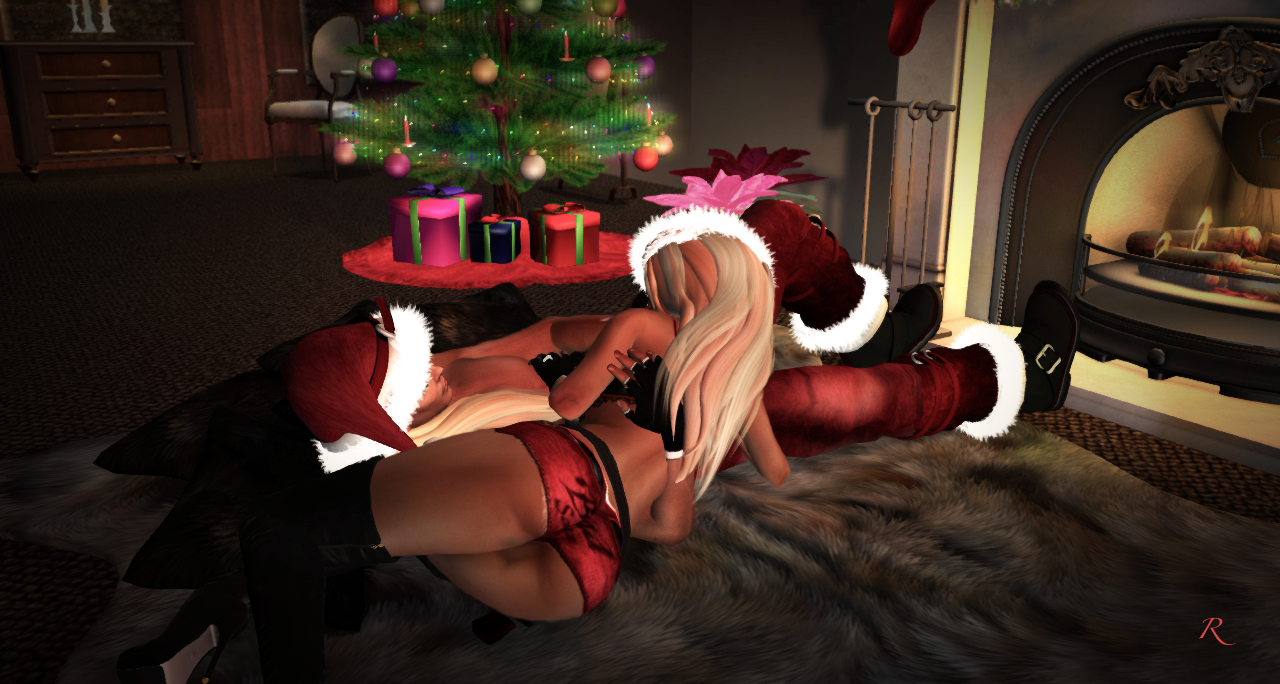
3rd photo WL setting fluffy big clouds with gama adjusted and SL shadows on.
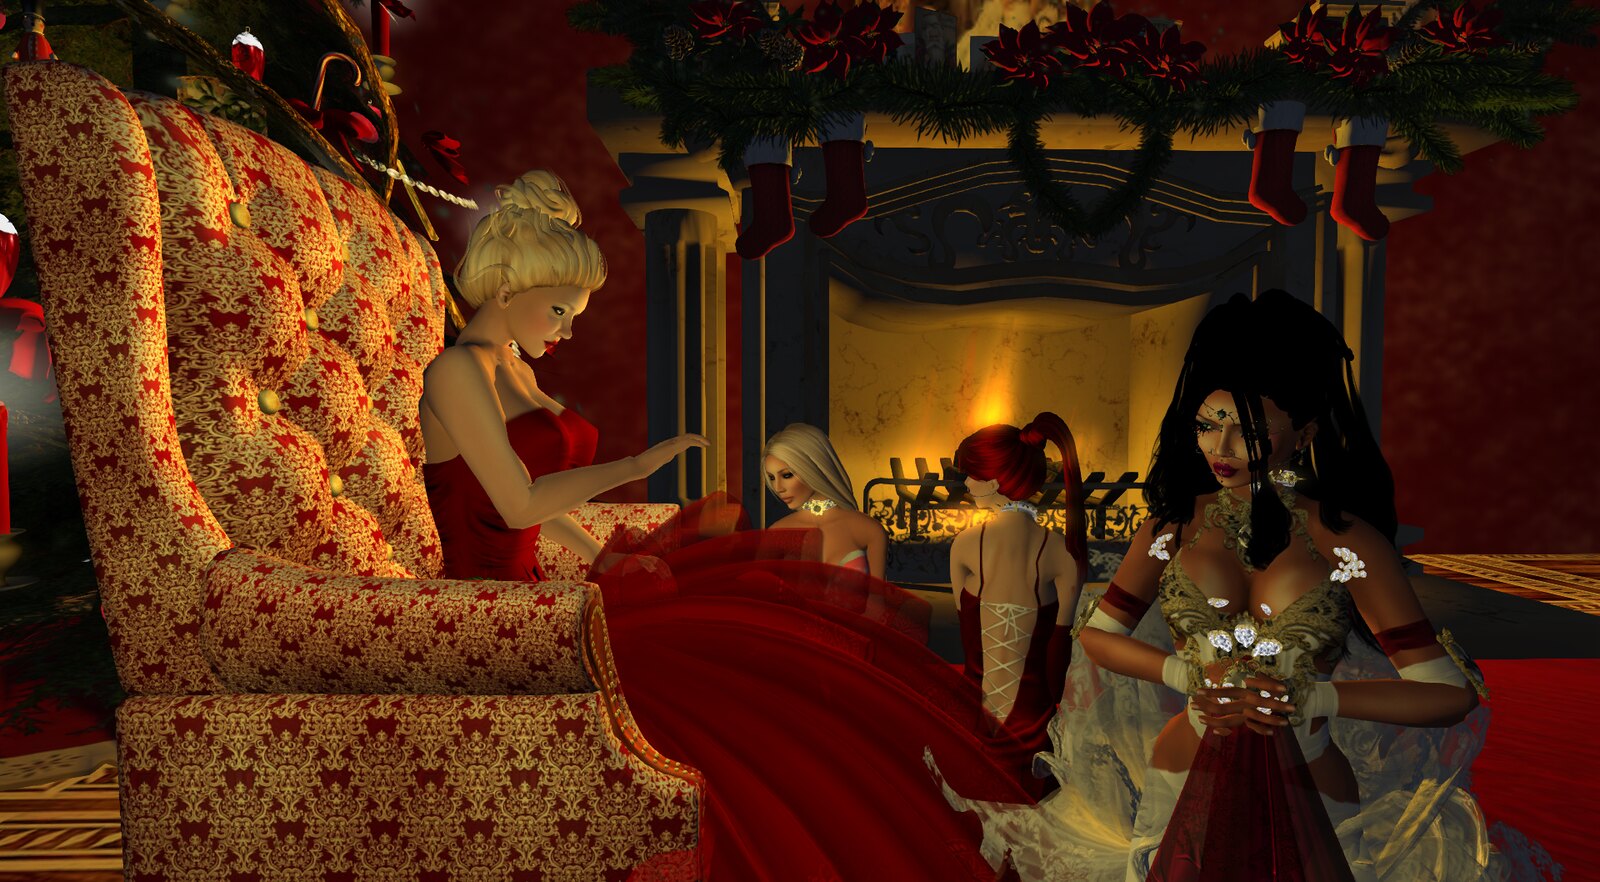
4th photo WL setting fluffy big clouds with gama adjusted and SL shadows on
LUMIPro split light, Intensity 0.7, color set neutral adjusted with Lee filter slider adjusted on white.
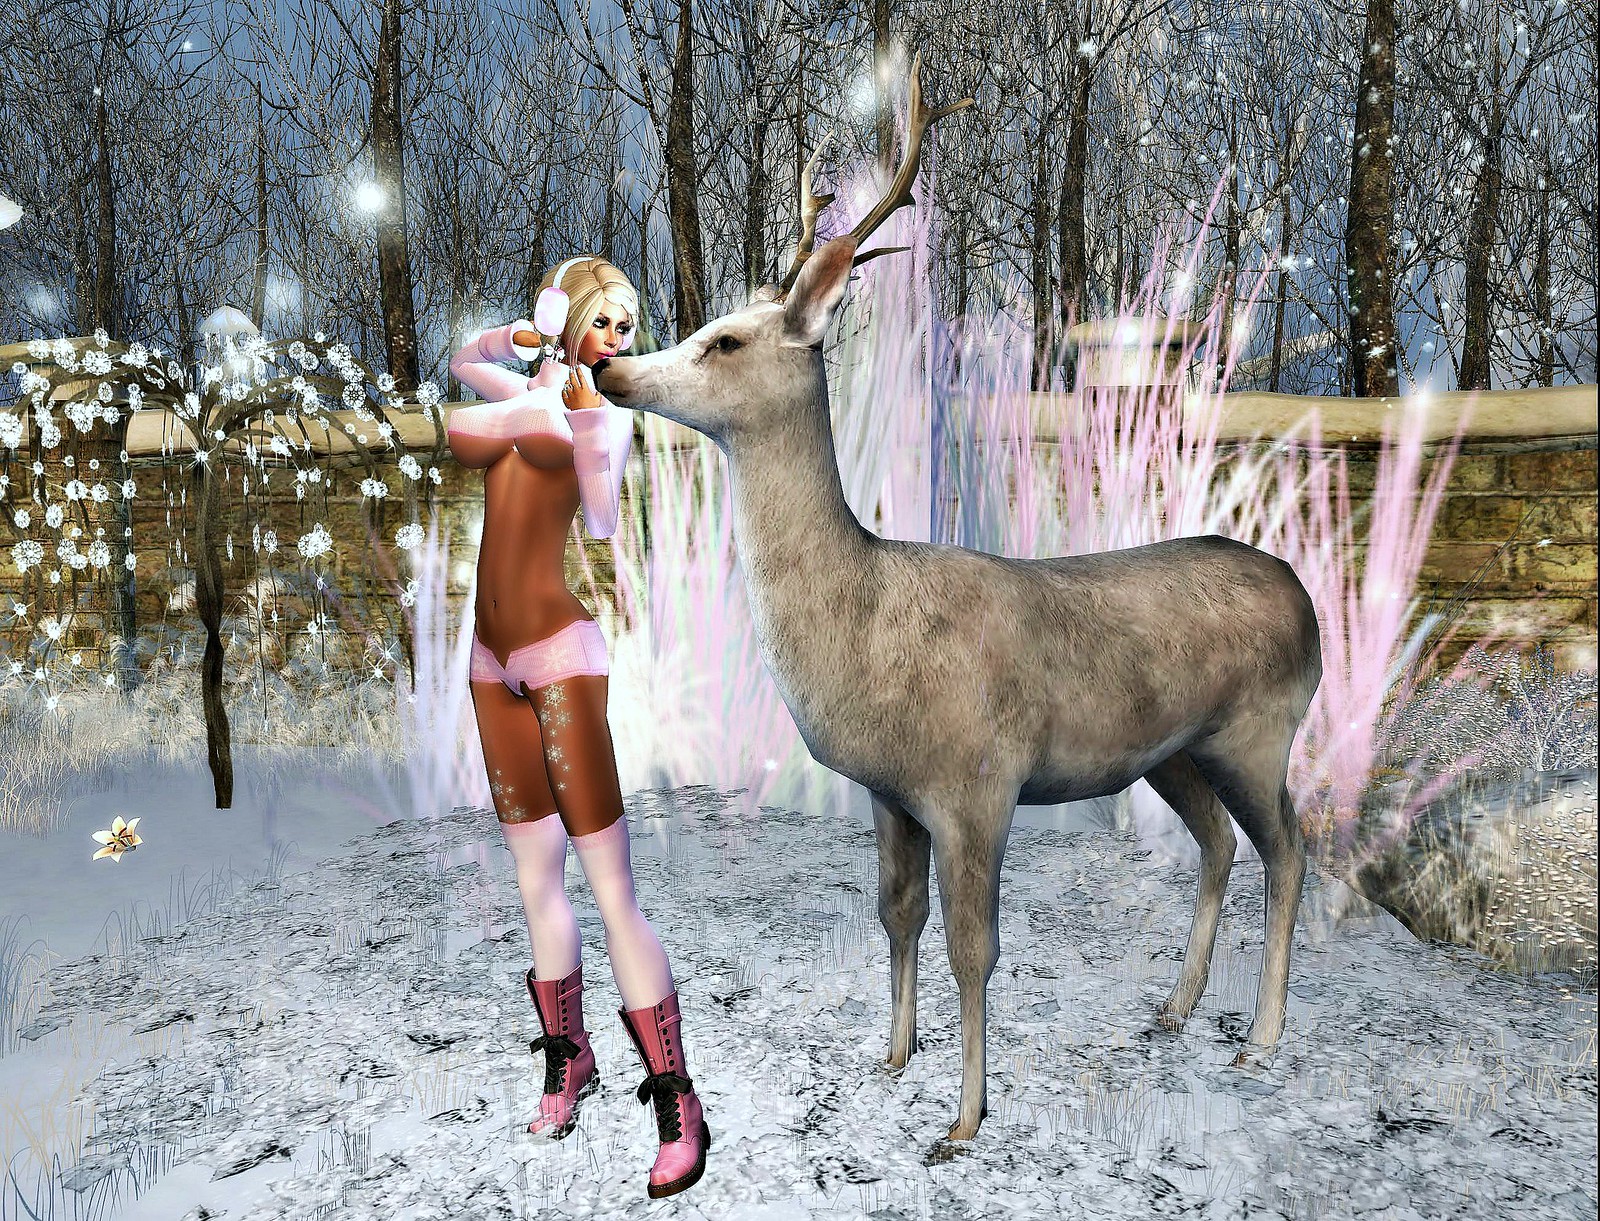
5th photo depth and points tweaked in photoshop, finished product.
Painless ! and fast and your mileage and styles will all vary.
With LUMIPro Second Life IS your canvas, go shoot and show us how you LUMIPro!















![Shall We Dance? [Yesteryear 035]](http://farm4.staticflickr.com/3701/9338566805_4829342d03_b.jpg)